
6 Ways to Creativly Use Canva for Online Courses
As a course creator I have used Canva for online courses and for brading my online course website. It has recently become one of my go-to tools in my graphic design toolbox. Let’s take a look at a few of the ways you can put this free tool to use.
The number of web-based graphic creation packages has exploded over the last two to three years and that’s great news for creators of online courses. These web apps offer many, many helpful resources for creating graphics and resources for e-learning and most of them are actually free to start using.
They can also help create a more efficient workflow when developing graphical content for your courses. I have both used Photoshop for years to help us create images for training courses, websites, blog posts, and social media. However, software packages like these are resource hogs when they’re running and can slow your machine to a crawl if you’re running anything else. Web-based graphic creators allow you to get images created faster by letting their server take care of the heavy lifting.
Several years ago, I was introduced to an online graphic creation tool called Canva after reading about it in a roundup article evaluating several of the options in that space. And I have used it almost every day since then for one project or another.
You may already be familiar with Canva, however, today I wanted to share some of the ways you can use the platform to create awesome content for your online courses.
Getting Started with Canva
Once you land on the Canva homepage, you can set up an account for free. You can even avoid the whole back and forth email confirmation process and sign in with your Facebook or Google account if you choose.
After logging in, you’ll be taken to the main design manager page. Any previous projects you’ve work on will display here and you’ll also see options for creating various types of content using templates. There are dozens of templates, but the main design template categories are:
- Social Media Posts
- Documents
- Videos
- Print products
- Websites
- Presentations
You’ll also notice that at the very top of the design manager page, there’s an option to use a custom size. This option allows you to set a specific image size and begin with a blank canvas for your project, dropping in various elements such as text, images, shapes, etc. I would recommend starting with a few of the templates first just to get a feel for how the platform works. The templates are also great for a little creative inspiration if you’re stuck. Also, keep in mind that the pre-made templates can all be edited, so you can add/remove elements, change colors, change fonts, and more.

After you select a template, you’ll enter the actual project editor. In the project editor, you’ll have six main tabs on the left:
- Design: You will be shown a selction of templates that you can use to get you started with your project. You can use the search bar to type in keywords that might render a template that will give you elements desired for the project. You will also have the ability to select a style which provides color pallets and font styles that you can apply to your project. You can predefine these style sets so that you can quickly apply your branding elements to your project.
- Text: This is of course where you would add a heading, subheading, or body text to your image. However, I also jump in here all the time for inspiration by looking through the pre-made text elements.
- Brand: This is a really cool feature because you can define branding elements like logos, colors, fonts, brand voice, photos, graphics and icons so that you can apply your branding elements to any given project making it super easy for you to design you project more efficiently.
- Uploads: You can basically upload various types of media elements to your library like images, videos and audio clips.
- Draw: This is a super cool tool that allows you to draw free-hand on the image.
- Projects: If you are an organized person, you will love this feature. You can basically create folders so that you can store your designs and images making it easier to find your projects.
- Apps: Apps are basically plugins that allow you to integrate and extend Canva’s functionality with other tools and technologies.
- Videos: These are stock videos that you can use for your video projects.
- Backgrounds: These are stock background images that you can use for your various projects.
- Bulk Create: This feature allows you to create multiple versions of the same design saving you time. You could use this feature to create business cards, invitations, certificates, labels, or designs that require minimal text changes like names, dates, and numbers.
The project editor itself is actually very simple so I won’t cover that in detail. It has all of the straightforward commands you would expect to see; font, font size, font color, alignment, spacing, copy elements, delete elements, etc.
As you’ll also notice, there is a “Share” button at the top of the screen. Once you’ve finished your design, all you have to do is click that and you will be presented with dozens of ways to share or export your project.

Let’s Move On to the Fun Stuff!
Now that we’ve looked at the basic features of Canva, let’s take a look at how to use Canva for online courses and much more!
1. ACTION GUIDES
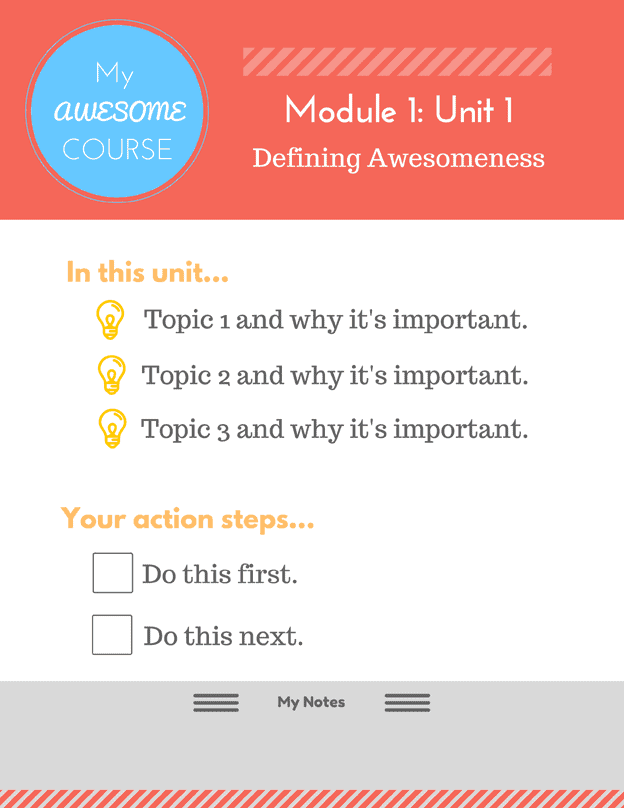
When I created my very first online course several years ago, I spent a lot of time creating and editing videos. But I spent almost as much time creating an “Action Guide” in PDF format for my students to download within each course unit. It provided a quick overview of the important topics covered within each video and also included a checklist of the steps I was asking them to take before moving to the next unit.
And of course, PDFs can even include hyperlinks, so if you need to you can link out to any additional resources right from the document. My students told me time and time again that the action guides added an incredible amount of value to the course as they didn’t have to be logged into the course to review what they needed to be doing.
The action guides were quite a bit more detailed than this, but here’s an example of the format I used:
2. INFOGRAPHICS
It’s becoming very common to see infographics within online courses. Infographics are often very useful in demonstrating certain complex concepts and are one of the best tools available for conveying data and measurements. They’re also helpful for teaching processes, as they are great for visually outlining steps. Add in the fact that they typically distill a topic down to the major key concepts while leaving out the fluff, and they can be a great addition to an online course.
I’ve used a number of the online infographic creators (most notably Piktochart), but Canva has made a big push recently to become one of the major players in this space also and they already have dozens of templates available. Personally, I think that Piktochart has a better library of designs as infographics are their primary focus, but if you’re only creating a few Canva is a great choice. Creating infographics with Canva for online courses is a breeze!
And if you’ve never created one, infographics are seriously one of the most fun types of content to create. Give it a try…surely you have some content in your course which would translate to a great infographic!

3. COURSE MODULE NAVIGATION BUTTON GRAPHICS
With WP Courseware, you’re able to not only place entire course outlines using a shortcode, but you can also place individual course modules (or groupings of similar lessons) on a page. The approach I took with my first WP Courseware course was to create a page which included graphical “buttons” that each linked out to another page that listed the units within that module. I actually placed these “buttons” within the member dashboard which included a welcome video at the top as well as links to all of the other resources such as a community forum, help desk, etc. But here are a few examples of the buttons I used…

Yes, they are a bit late 2000s 😂 but you get the idea! You can use Canva for online course buttons by creating a 300px x 200px canvas template and then add some creative graphics and/or text to complement your navigation buttons. I’ve since seen dozens of other WP Courseware users implement this navigation strategy and in some very cool ways.
4. COURSE LESSON HEADERS
Since the launch of WP Courseware five years ago, I’ve looked at thousands of online training courses created by our customers. And it’s shocking how few course creators make use of branding within their online course. You have the ability to splash branding across your website, courses, individual lessons, downloadable resources, etc. When I created that first course which led to the evolution of WP Courseware, I did the same thing. It was a comprehensive membership site with not only the training, but also forums, ebooks, and many other elements and I always ensured that my brand was present everywhere.
Canva has a lot of tools and template for blogging and social media which can help you easily create branded graphics to place within your course units to keep consistency throughout all of your training material. Using Canva for online courses makes it easy to have continuity across all your branding!
5. PRESENTATION SLIDES
A recent survey of WP Courseware users let us know that over 90% of them use video as their primary training format. And of those users who deliver video training, over 60% of them use the same recording approach…presentation slide decks with voice overs.
Why? It’s simple, inexpensive, effective, and let’s face it, it’s a little intimidating being in front of the camera.
If you’ve ever attended one of Amy Porterfield’s webinars, you’re well aware of what a great job she does with presentation slides. They’re clean, colorful, consistent, and well, just fun to look at!

Everyone has seen all of the same old PowerPoint and Keynote templates used over and over. Your presentation slides are another great opportunity to brand your course and Canva is a great tool for that. You can use Canva for online course slide decks as they even have their own templates for you to start with.
6. SUPPLEMENTAL RESOURCES
Similar to action guides, any number of other supplemental resources can be created. You can use Canva for online courses and beyond! I’ve seen WP Courseware users create workbooks for their course, entire ebooks to accompany the course, cheat sheets for quick reference, checklists, and I have even seen one productivity coach using WP Courseware who created his own daily planner for his coaching clients to print out and use.
The sky is the limit, but Canva has templates for all of these as well and it makes them simple to create. In fact, a lot of the free ebooks I see being offered as lead magnets for list generation are actually a series of presentation slides.
So what are you waiting for? Start today by making a list of things you can add to your course to aid in the learning process, extend your brand, offer more information, and stand out among your competitors!
Do you have other ideas for using graphics in courses? Feel free to share with us in the comments below!
2 Comments
Leave a Comment
Would you like to test drive WP Courseware for Free?
No credit card required
This is a very useful post. Thank you.
I am new to online course business (just about to create my first one).
Could you share more about usage rights of Canva stock pictures and videos. Can I use them within my videos which will be part of commercial digital product (paid online course). Are there any restrictions I need to be aware of?
Thank you Michal. You may want to check out the license agreement page on Canva’s site.